
Every time I whip up a batch of Crispy Mexican Smashburger Quesadillas, I’m transported back to summer nights spent with family, gathered around the grill, laughter echoing as we share our favorite meals. The smell of seasoned beef sizzling in the skillet fills my kitchen, wrapping everything in a cozy embrace that feels like home. There’s something magical about the combination of a juicy burger and melted cheese nestled between warm tortillas, creating a dish that’s not only delicious but also incredibly comforting.
This recipe is a delightful twist on traditional quesadillas, blending the flavors of a classic Mexican meal with the heartiness of a burger. It’s easy to make, perfect for busy weeknights, and sure to please even the pickiest eaters in your family. With just a handful of ingredients and minimal prep time, you’ll have a satisfying meal that brings everyone together around the table.

What Is Crispy Mexican Smashburger Quesadillas?
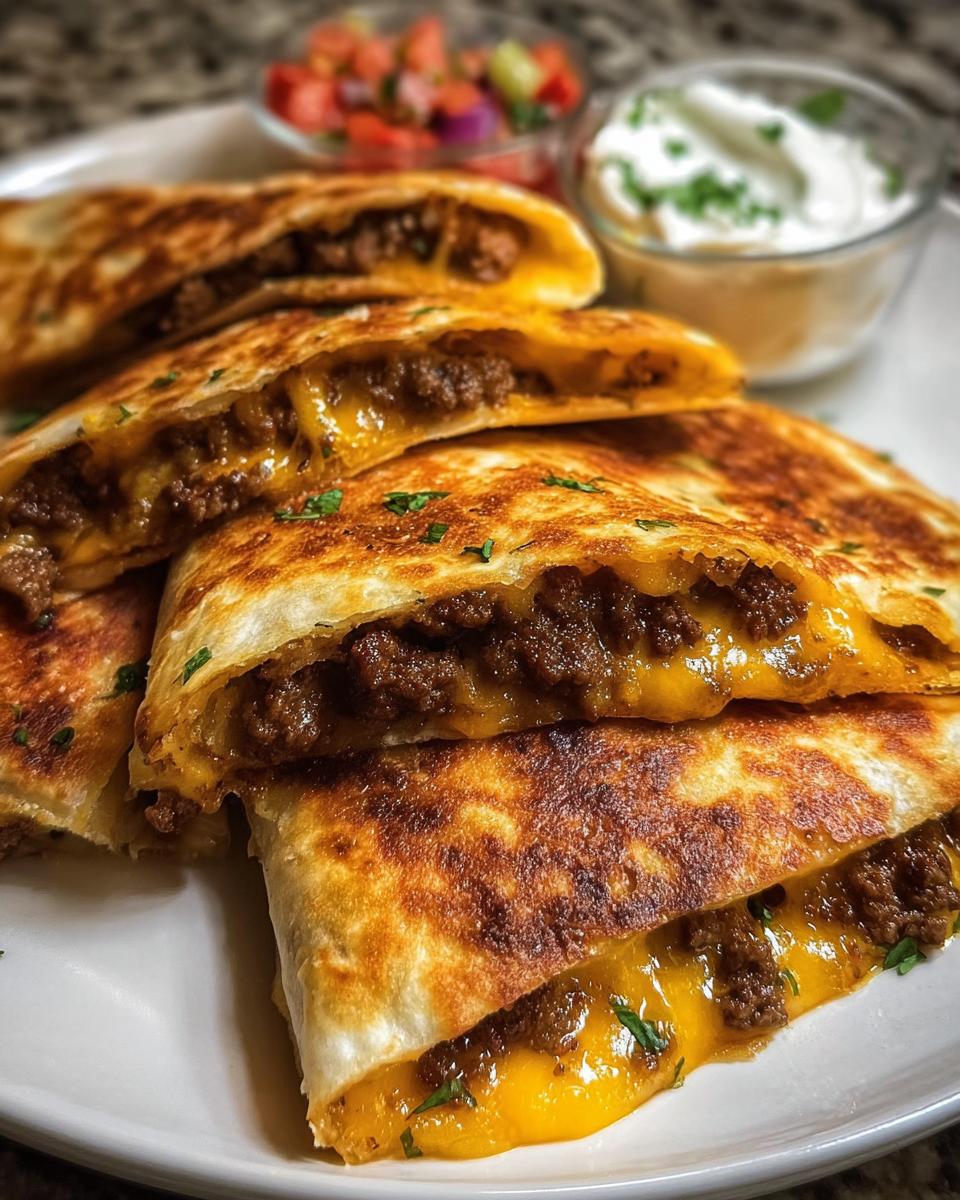
Crispy Mexican Smashburger Quesadillas are a delicious fusion of classic burger flavors and cheesy, melty quesadillas. This recipe features seasoned ground beef layered between warm tortillas and two kinds of cheese, creating a delightful crunch with every bite. They are perfect for a quick dinner or a fun gathering with loved ones.
- Prep Time: 15 minutes
- Cook Time: 10 minutes
- Total Time: 25 minutes
- Servings: 4 quesadillas
Why You’ll Love Crispy Mexican Smashburger Quesadillas
- Quick preparation: Ready in just 25 minutes, making it ideal for busy weeknights.
- Simple ingredients: Uses everyday pantry staples, so you can whip them up anytime.
- Beginner-friendly method: Easy steps ensure that anyone can make these quesadillas with confidence.
- Perfect for gatherings: A crowd-pleaser that’s great for parties or family dinners.
- Make-ahead convenience: Prepare the filling in advance for a faster cooking time later.
Ingredients You’ll Need
For the Filling
- 1 pound ground beef (choose high-quality beef for richer flavor)
- 1 tablespoon taco seasoning (store-bought or homemade for best taste)
For the Quesadillas
- 8 small flour tortillas (soft, pliable tortillas work best)
- 1 cup shredded cheddar cheese (for a sharp, tangy flavor)
- 1 cup shredded Monterey Jack cheese (adds creaminess to the mix)
- 1 small red onion, finely chopped (for a touch of sweetness)
- 1 jalapeño, finely chopped (optional for spice; adjust to taste)
For Serving
- 1 tablespoon vegetable oil or cooking spray (for crispiness)
- 1 cup pico de gallo (fresh salsa for a zesty kick)
- ½ cup sour cream (for creaminess and balance)
- Fresh cilantro (for garnish and added freshness)
Ingredient Spotlight
The star of this dish is undoubtedly the ground beef. It adds a rich, savory flavor that perfectly complements the cheese and spices. Choosing high-quality beef enhances the overall taste, making each bite delectably hearty. For a lighter option, you can substitute with ground turkey or chicken.
Step-by-Step Instructions
Preparing the Filling
- In a skillet, heat 1 tablespoon of vegetable oil over medium heat. The oil should shimmer but not smoke.
- Add 1 pound of ground beef to the skillet. Use a spatula to break it apart as it cooks, ensuring even browning.
- Sprinkle in 1 tablespoon of taco seasoning. Stir well to combine, letting the spices infuse the beef. Cook until the beef is browned and fully cooked through, about 5–7 minutes.
- Once cooked, remove the skillet from heat and let the filling cool slightly. Pro Tip: Drain any excess fat if necessary to keep the quesadillas from becoming greasy.
Assembling the Quesadillas
- Place a tortilla on a flat surface. Spoon a generous amount of the beef mixture onto one half of the tortilla.
- Top the beef with a mix of 1 cup of shredded cheddar cheese and 1 cup of shredded Monterey Jack cheese, followed by a sprinkle of chopped red onion and jalapeño if using.
- Fold the tortilla over to create a half-moon shape, pressing down gently to seal. Pro Tip: If you want extra cheesy quesadillas, add a bit more cheese before folding.
Cooking the Quesadillas
- Return the skillet to medium heat and add a little more oil if needed. When the skillet is hot, place the assembled quesadilla in the skillet.
- Cook for about 3–4 minutes on one side until it is golden brown and crispy. Flip carefully using a spatula.
- Cook the other side for another 3–4 minutes until it’s equally crispy and the cheese is melted.
- Remove the quesadilla from the skillet and let it rest for a minute before cutting into wedges. Pro Tip: Keep cooked quesadillas warm in a low oven while you finish the rest.
Serving the Quesadillas
- Serve the quesadillas hot with a side of pico de gallo and a dollop of sour cream.
- Garnish with fresh cilantro for an added burst of flavor and color.
- Enjoy with your favorite beverage, and don’t forget to share the warmth and comfort of this meal with loved ones!
Variations
- Swap ground beef for shredded chicken or black beans for a vegetarian option.
- Add roasted corn or diced bell peppers for extra flavor and texture.
- Try different cheeses like pepper jack for a spicy kick or feta for a tangy twist.
- Experiment with different toppings like guacamole or jalapeño slices for added freshness.
Serving and Storage Tips
Serving
Serve the Crispy Mexican Smashburger Quesadillas hot, cut into wedges for easy sharing. Pair with pico de gallo and a dollop of sour cream for a creamy contrast. A refreshing beverage complements this dish beautifully, making it perfect for gatherings.
Storage
Store leftover quesadillas in an airtight container in the fridge for up to 3 days. For longer storage, freeze them in a single layer, then transfer to a freezer bag for up to 2 months. Reheat in a skillet for a crispy finish or in the microwave for convenience.
Common Mistakes
- Using too much filling can lead to messy quesadillas. Stick to a generous but manageable amount.
- Not letting the skillet heat up enough can result in soggy tortillas. Make sure it's hot before cooking.
- Overcooking the beef can dry it out. Watch it closely and cook until just browned.
- Skipping the resting time after cooking makes it harder to cut. Let them rest for a minute to set.
Helpful Notes
- For a gluten-free option, use corn tortillas instead of flour.
- Feel free to add black olives or diced tomatoes for extra flavor.
- If you're sensitive to spice, omit the jalapeño or use mild peppers.
- To make ahead, prepare the filling and refrigerate; assemble and cook when ready to serve.
Frequently Asked Questions
Can the recipe be frozen?
Yes, you can freeze the assembled quesadillas. Place them in a single layer on a baking sheet, freeze until solid, then transfer to a freezer bag. They can be stored for up to 2 months.Can ingredients be substituted?
Absolutely! Ground beef can be swapped for ground turkey or shredded chicken. You can also use different types of cheese or tortillas based on your preference or dietary needs.How to store leftovers?
Store any leftover quesadillas in an airtight container in the fridge for up to 3 days. For longer storage, you can freeze them as mentioned earlier.Can the recipe be made ahead?
Yes, you can prepare the filling in advance and store it in the fridge. When you're ready to eat, simply assemble and cook the quesadillas for a quick meal.Final Thoughts
Crispy Mexican Smashburger Quesadillas are not just a meal; they’re a moment to share with family and friends. I encourage you to gather around the table, savor the delightful crunch, and enjoy the rich flavors that bring everyone closer together. This recipe is a wonderful way to create lasting memories while indulging in comfort food that warms the heart. So, roll up your sleeves, give this recipe a try, and watch as it becomes a beloved favorite in your home!
Crispy Mexican Smashburger Quesadillas
Ingredients
Equipment
Method
- In a skillet, heat the vegetable oil over medium heat. Add the ground beef and taco seasoning. Cook until browned and cooked through.
- Layer the filling with cheese between two tortillas and cook in the skillet until crispy on both sides. Serve with pico de gallo, sour cream, and garnish with cilantro.


Leave a Reply